The first step of this project was buying an alternator. I picked up a used leece neville 200 amp alternator off a school bus which was a great starting point because it has no built in regulator or diodes (rectifier). You can use any alternator, but you'll have to remove those components. Controlling the voltage output of the alternator is simple, the more voltage you put into the field coil the more voltage comes out of the alternator. Then the 3-phase ac output of the alternator is rectified using diodes (you need ones that can handle the high voltage spikes that come from arc welding, which is why you need to replace the built in ones) and with that alone you're read to stick weld. Mig and Tig are done by adding on a wire feeder, gas solenoid, and control circuitry. For feedback to the microcontroller, I'm using a voltage divider into the ADC to measure voltage and an allegro 200 amp hall effect voltage sensor to measure current. You'll notice on the diagram that the micro doing measurements has an isolated power supply, this is to completely isolate the welder output from the car's 12v system. This isn't strictly necessary, but it reduces the chance of a high voltage spike frying the electronics in my car.

This picture shows the alternator installed where the AC compressor used to be. I fabricated a new mounting bracket which reused the old tensioner. My car has v-belts, which makes this install very easy. It's not impossible to do this on an engine with serpentine belts, but it's more difficult.


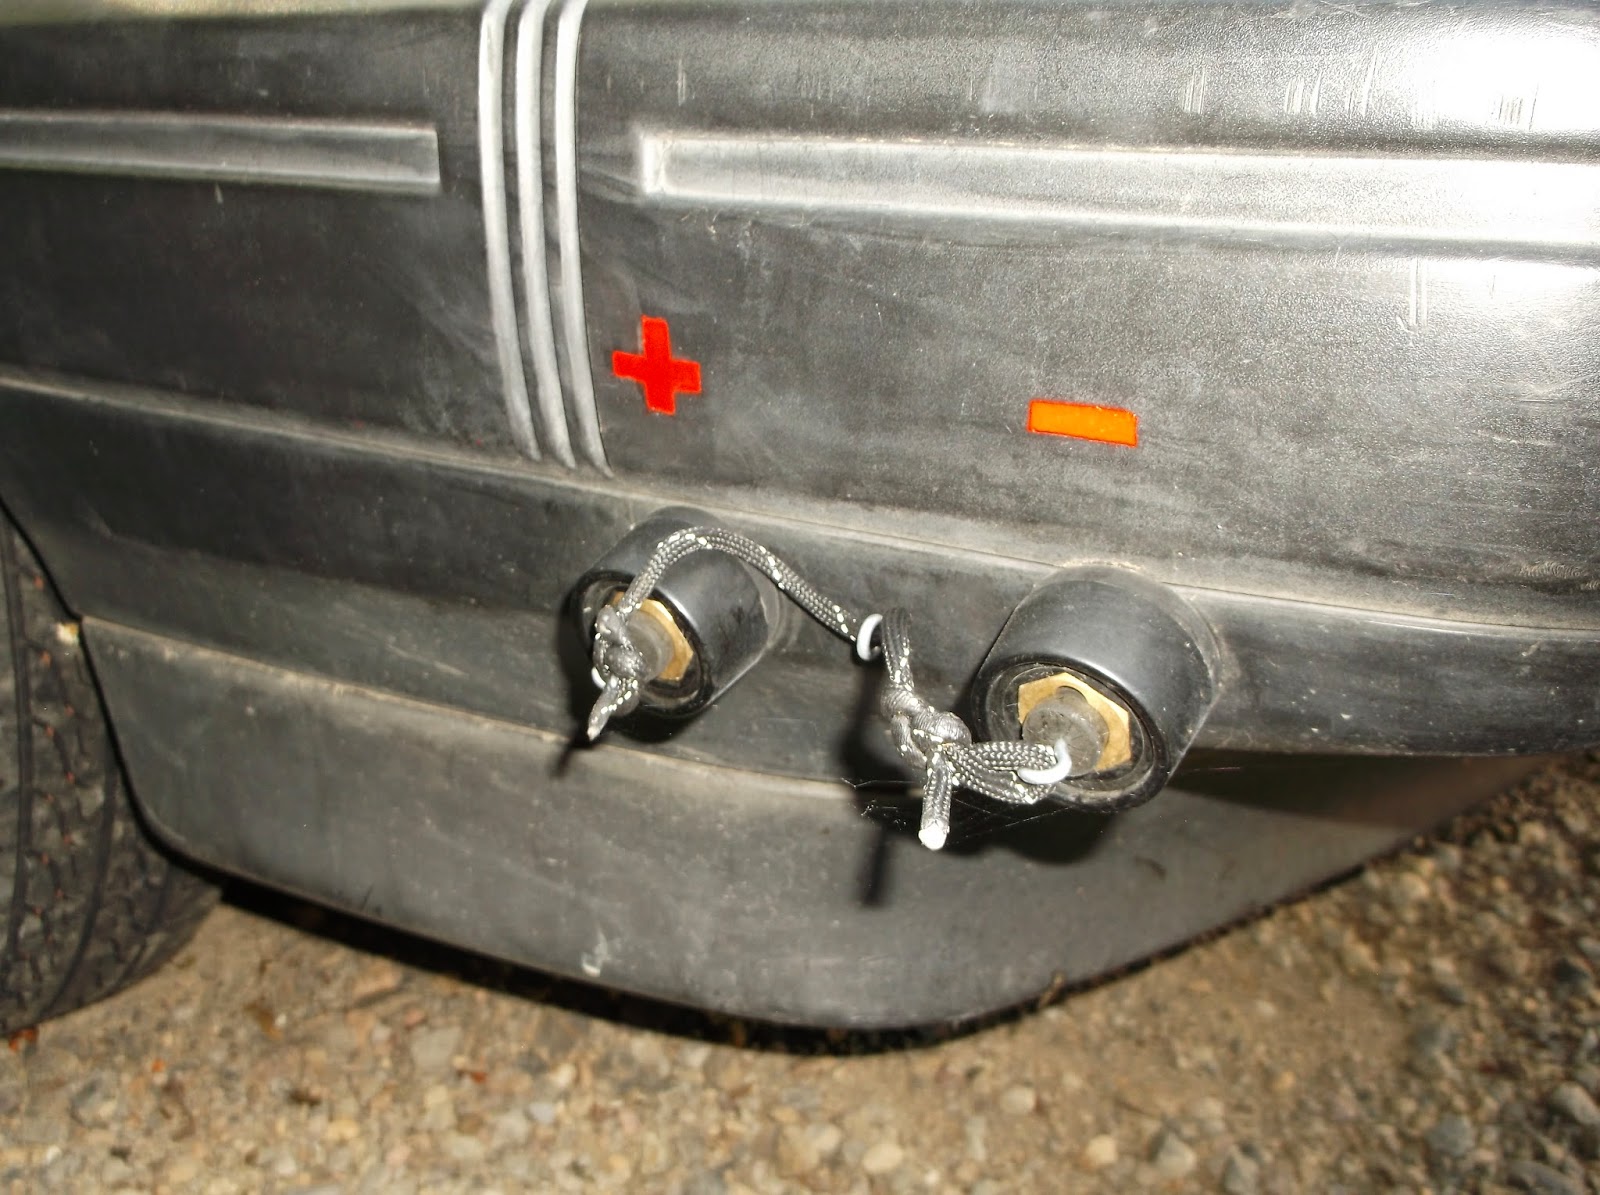
A note about wire gauge:
For automotive applications it is essential to use stranded wire to prevent wire fatigue from vibrations. However not all stranded wire is the same. Welding cable like the kind going to your stringer uses many small strands to create a very flexible cable. Commercial stranded cable usually has fewer, larger strands. The more strands you have, the more flexible the cable is. However, it increases the overall size of the cable. For inside the car, I used stranded cable from the bulk section of home depot, which has very few large strands. It's not that flexible but is much smaller than normal welding cable, making it easier to run throughout the car. The cable in the pictures may not look as large as you're used to, but it has the same amount of copper as more flexible cable.
No comments:
Post a Comment